> ## Documentation Index
> Fetch the complete documentation index at: https://docs.platform.aiplanet.com/llms.txt
> Use this file to discover all available pages before exploring further.
# The Workflow Builder
> A tour of the visual canvas where you build workflows.
The workflow builder is the visual canvas where you design your workflows. You add nodes, connect them, and configure each one — all without writing code.
 ## The layout
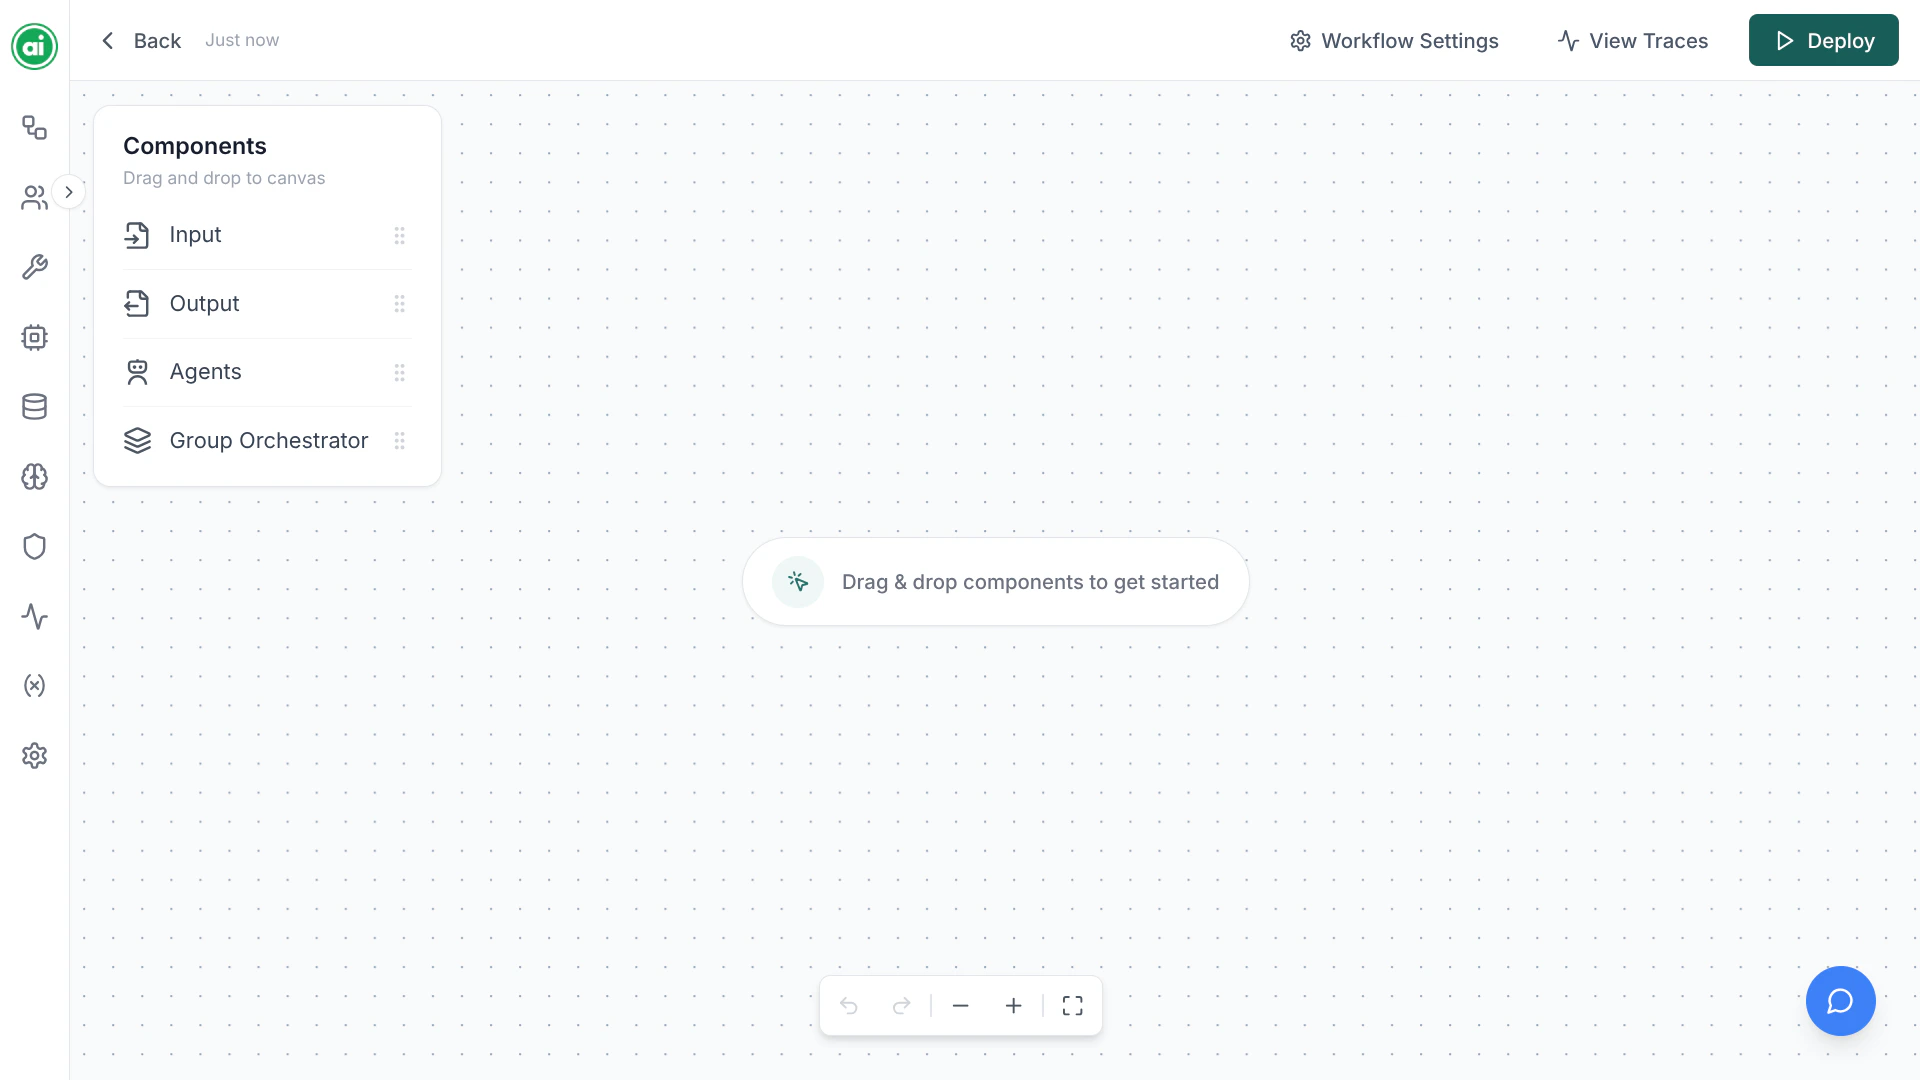
The builder has four main areas:
On the left. Lists the node types you can add — Input, Output, Agent, and Group Orchestrator. Drag a node from here onto the canvas.
The center workspace. Place, arrange, and connect your nodes here. Pan and zoom freely.
Opens on the right when you select a node. This is where you set up what each node does.
Across the top. Shows the workflow name, the save status, and the deploy controls.
## Working on the canvas
* **Add a node** — drag it from the component panel onto the canvas.
* **Select a node** — click it. The configuration panel opens on the right.
* **Move a node** — drag it to reposition.
* **Connect nodes** — drag from one node's handle to another's. See [Connecting nodes](/building-workflows/connecting-nodes).
* **Zoom and pan** — use the on-canvas controls or scroll and drag to navigate large workflows.
## Saving your work
The header shows a save status indicator. As you make changes, it reflects whether your work is **saved** or has **unsaved changes**. Save before testing in the Playground or deploying.
Leaving the builder with unsaved changes can lose your work. Make sure the header shows your workflow as saved.
## Settings
A settings panel, opened from the header, lets you configure workflow-wide options — including [memory](/knowledge-memory/memory-configurations) and which [guardrails](/guardrails/overview) apply to the workflow.
## Next steps
Learn what each node does and when to use it.
Understand how information flows between nodes.
## The layout
The builder has four main areas:
On the left. Lists the node types you can add — Input, Output, Agent, and Group Orchestrator. Drag a node from here onto the canvas.
The center workspace. Place, arrange, and connect your nodes here. Pan and zoom freely.
Opens on the right when you select a node. This is where you set up what each node does.
Across the top. Shows the workflow name, the save status, and the deploy controls.
## Working on the canvas
* **Add a node** — drag it from the component panel onto the canvas.
* **Select a node** — click it. The configuration panel opens on the right.
* **Move a node** — drag it to reposition.
* **Connect nodes** — drag from one node's handle to another's. See [Connecting nodes](/building-workflows/connecting-nodes).
* **Zoom and pan** — use the on-canvas controls or scroll and drag to navigate large workflows.
## Saving your work
The header shows a save status indicator. As you make changes, it reflects whether your work is **saved** or has **unsaved changes**. Save before testing in the Playground or deploying.
Leaving the builder with unsaved changes can lose your work. Make sure the header shows your workflow as saved.
## Settings
A settings panel, opened from the header, lets you configure workflow-wide options — including [memory](/knowledge-memory/memory-configurations) and which [guardrails](/guardrails/overview) apply to the workflow.
## Next steps
Learn what each node does and when to use it.
Understand how information flows between nodes.